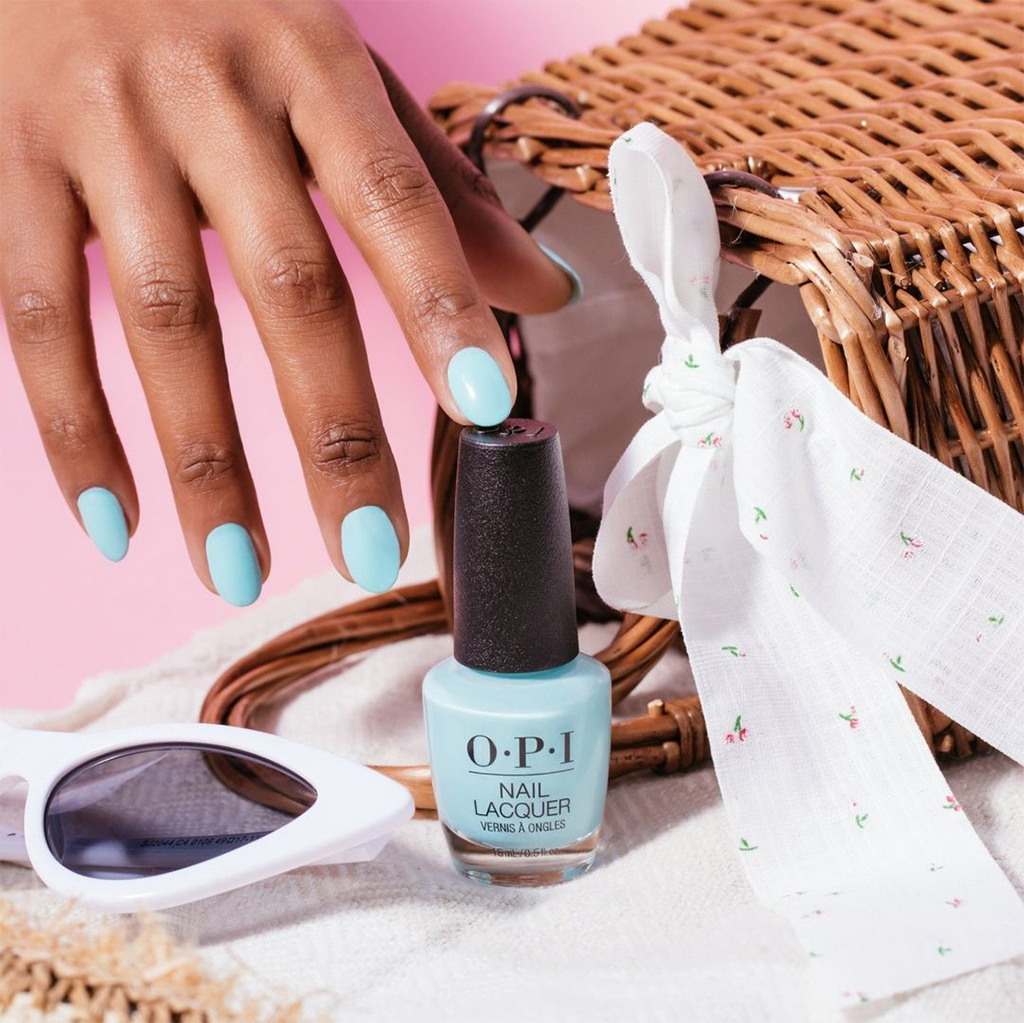
The OPI nail lacquers has been a staple in the beauty industry for decades. They are known for their wide range of colors and long-lasting wear that doesn’t chip or peel, which is why they have become so popular among women who love to get manicures and pedicures. But what about the OPI gel polish? This innovative new product from OPI offers all the same benefits as regular nail lacquers but with a much longer shelf life (up to three weeks). The only downside is that it takes just a little more time to dry than traditional nail lacquers. Learn how you can improve your own at-home manicure by using both types of polish below!
Step by Step Apply OPI Nails Lacquers and Gel Polish at Home
Step 1
Preparing for the nail art is a crucial step to get that perfect manicure. You should start with removing any pre-existing lacquer, then wash your hands and nails clean before you begin painting!
Step 2
Apply the cuticle cream on your fingernails and let it soak in for a few minutes. Use an orangewood stick to push back those troublesome cuticles, making sure not to overdo it! If you want to get rid of any excess skin around nails, use a nipper specifically for this purpose.
Step 3
Shape them up! First, use a nail cutter to shorten your nails and remove any jagged edges if you want them shorter than they are now. Next, file down the tips of each nail with a clean nail file in one direction for maximum length on all fingers combined (as opposed to filing back and forth across both hands). Finally, buff out any uneven spots or rough patches that may have formed over time using an emery board until smooth-looking again – some people even do this step before shaping their nails. Hence, it’s easier not to have too much left afterward!
Step 4
Give them a good buff with the help of your favorite manicurist! Buffing blocks are versatile and effective in shaping nails into smooth oval shapes that can be more easily painted, covered, or decorated.
Step 5
Keep your nails strong and healthy with the OPI Original Nail Envy base coat, followed by a layer of top-coat for long-lasting color. If you want to add more coats of nail polish on top, apply another thin application of original envy between each additional coat!
Start by applying an even coating from the cuticle area down across the surface using a brush in one circular motion or side-to-side strokes (for best results, press fingertips into mani during the first stroke).
Use applicator tip to push back cuticles, then file them away gently.
Apply desired color paint evenly over the entire length and width surrounding edges at the free edge – don’t forget that this is where chipping usually starts, so be careful with this process.
Step 6
Nail care is the most important part of any manicure. Be sure to take a moment before drying your nails, and add some moisture back into those cuticles! OPI Nail & Cuticle Oil will help nourish dry skin while strengthening delicate nail tissue.
Moisturizing your nails and cuticles is a must! To keep them looking healthy, apply OPI Nail & Cuticle Oil. This oil will moisturize the nail beds and soften any dry skin around the nails for an even smoother finish.
Step 7
So, it’s now time to give yourself a warm and fuzzy feeling. The Advanced Softening Gloves are latex-free gloves that come pre-filled with ultra-moisturizing macadamia oil, coconut oil, olive fruit extract (a natural skin conditioner), shea butter, and vitamin E for repairing dry or damaged skin tissue. Slip them on while you relax after your manicure session!
If you’re feeling like an overachiever, complete your DIY mani by deep conditioning the tips of your fingers as well – just like at the salon! Softening Gloves can be soaked in any type of liquid treatment before placing them onto hands; they have been designed specifically for pampering those rigid working digits too tough.
Conclusion
The most important thing you need for a great manicure is the right OPI nails. You should always use just one coat of color or clear polish on each nail, as this will help get rid of any bubbles that may have formed in between your nails during application. It’ll also reduce chipping over time too! There are three steps involved with using gel polish – apply a base coat, wait 2 minutes, then add two coats (2)of colored topcoat before curing under UV lamps for 30 seconds per hand at 6 inches from lamp surface area. For best results, cure both hands simultaneously; remember not to touch anything until dry about 5-10 minutes after. Enjoy your new look with a perfect manicure.


